Starting plants from seed indoors is a cost-effective way of getting your garden going. Particularly if you wish to grow larger quantities or unusual varieties of plants. While this simple guide is by no means everything there is to know about starting seed indoors, it is an outline of the method I use every year.
I once grew a $60 tomato. Not on purpose, I grew the tomato on purpose but I didn’t intend for it to cost $60…there were three actually. Three $60 tomatoes. They weren’t even that great to eat but I enjoyed every bite because…$60 each. Why? I started the plants from seed…twice…before I ran out of time and bought transplants at Home Depot. Then blight killed them before I could harvest much. They died in the new garden bed we had built for them. $20 on seed starting trays, $20 on a heat mat, a big sunny window (free), new garden beds $100 in wood, soil and amendments for the raised beds $40, two lots of seeds $12, plant supports $18, tomato plants $15.
I don’t want you to have $60 tomatoes…so I really hope this simple seed starting for the indoors is of help.
When you need to start seed indoors…
If your location and your chosen fruit or vegetable seeds dictate that you need to start them indoors, this is the cheapest way I have found. We have a fairly short growing season so starting seeds indoors allows me to get a head start on things like peppers, tomatoes, and eggplant. Certain plants need a long time to grow to a good outdoor size depending on your region, and that may mean you have to supplement light in order to meet your plants’ requirements. This may not be worth the investment to you, in which case focus on growing using direct seeding for what you can and purchase your transplants direct from a farmer or at your local nursery, it will save you money and wasted time. See Extra Notes for more information.
Equipment needed
- Seed starting soil. We prefer organic, seed-starting soil and not potting mix or dirt from outside. A 16-quart bag of Organic Seed starter locally, costs between $10-14. I buy 50 lb bags usually these days but for this post, I picked up a bag for $13. It will fill a few grow trays. And please note, buy the seed-starting soil you can most easily afford. Growing something is better than growing nothing because organic is out of reach financially. If this already sounds too expensive, read our Starting A Food Garden on a Budget post instead.
- Containers for seed sprouting. Like these used rotisserie chicken containers or egg cartons. The clear plastic lids are fantastic at holding in moisture and warmth while still allowing light when you are sprouting the seeds. They are also free. You can also buy actual seed starting trays which range in price from $3-$8. I use these rotisserie containers for my onion starts and microgreens.
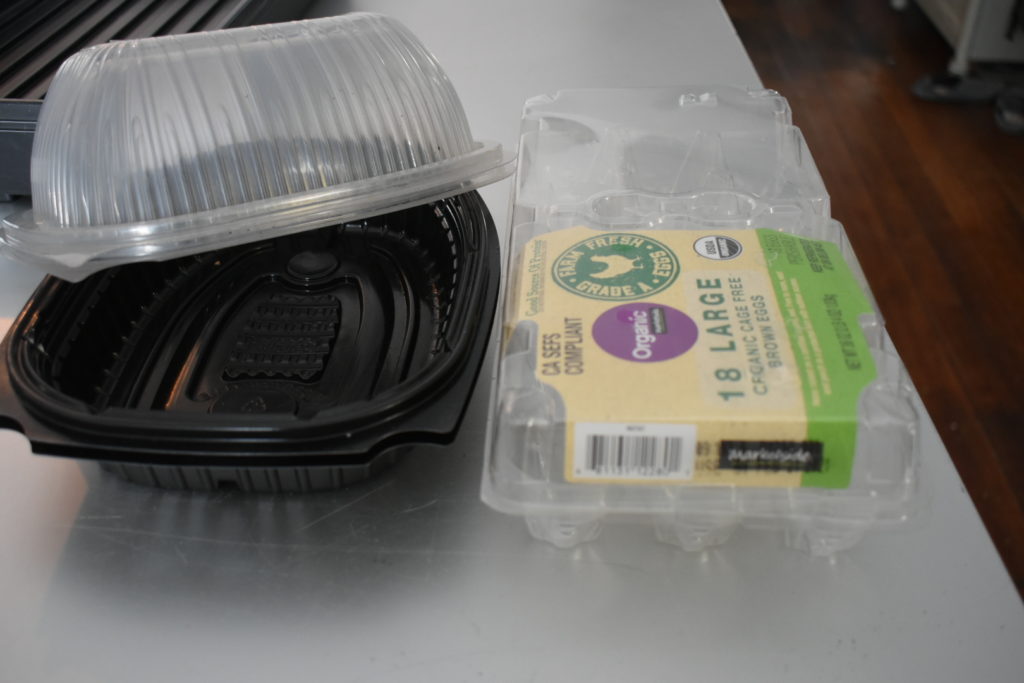
Cleaned Rotisserie chicken container and a plastic egg carton used for seed starting
- A water mister. I use a glass sprayer that I found on Amazon. We are not currently affiliated with Amazon, I just love these sprayers and use them for everything. You can use any mister but the key idea is to use a method of watering that is clean (does not introduce bacteria or chemicals) and will not wash away small seeds. I have used an old soy sauce bottle, cleaned with a few holes in the lid to sprinkle water. You could also use a plastic disposable water bottle to do the same thing. I don’t like using watering cans or spray hoses for seed starting.
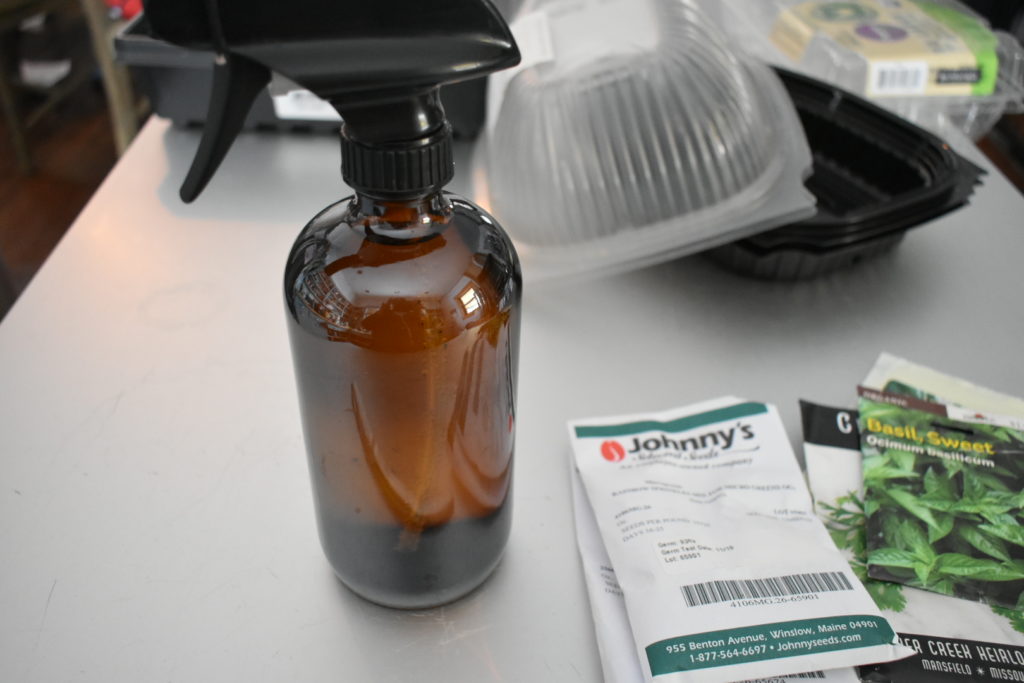
- A Bowl and a large spoon. I reused an old plastic bowl and a metal serving spoon I got at a garage sale for 5c (it was in a bundle of utensils for $1). You can obviously also use garden tools you may already have – buckets, bags, soil scoops, or trowels.
- Seeds of choice
- A Warm location. Some people put their seeds on top of the fridge as most seeds sprout between 75 and 85 degrees F and that works well. My seed trays are on top of a bookshelf next to the fire or I use large heat mats for my bigger trays, I have these VivoSun Heat Mats that I found on Amazon (we are not affiliated with Amazon).
- Light: Sunny window sill (cheapest), a hot and cool shop light (mid-range) or a grow lamp (mid-high range), or a heated greenhouse (high cost). Seedlings need 10-plus hours of sunlight to grow from the sprout to the transplant stage. NOTE: You will need an additional light source if you do not have at least 8- 10 hours of sunlight. See Extra Notes for more info.
Process
- Get your container ready (clean and dry).
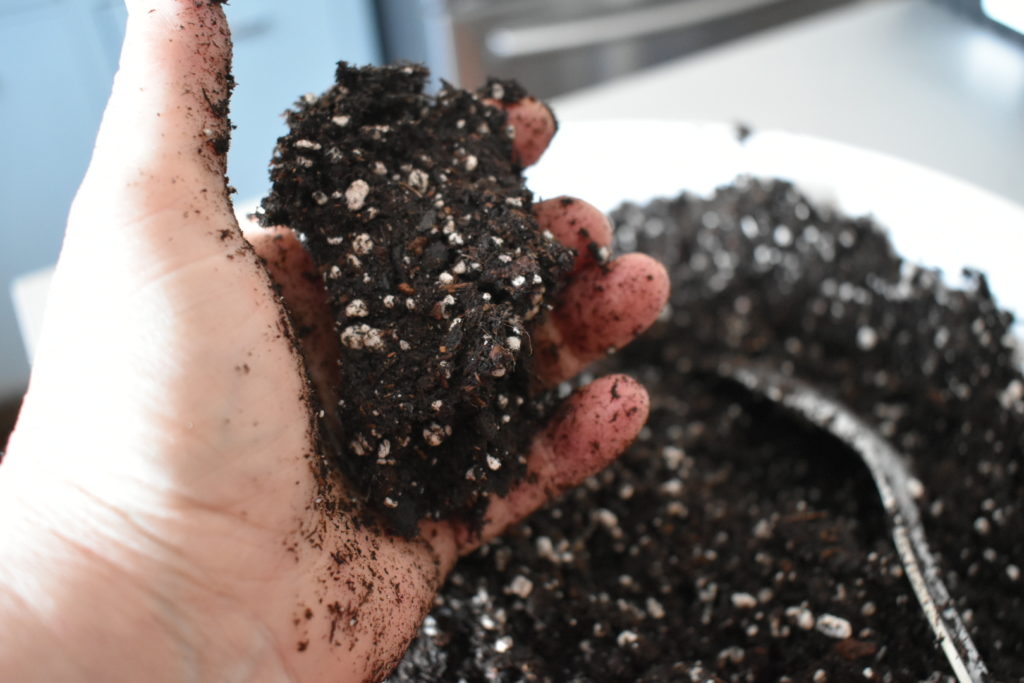
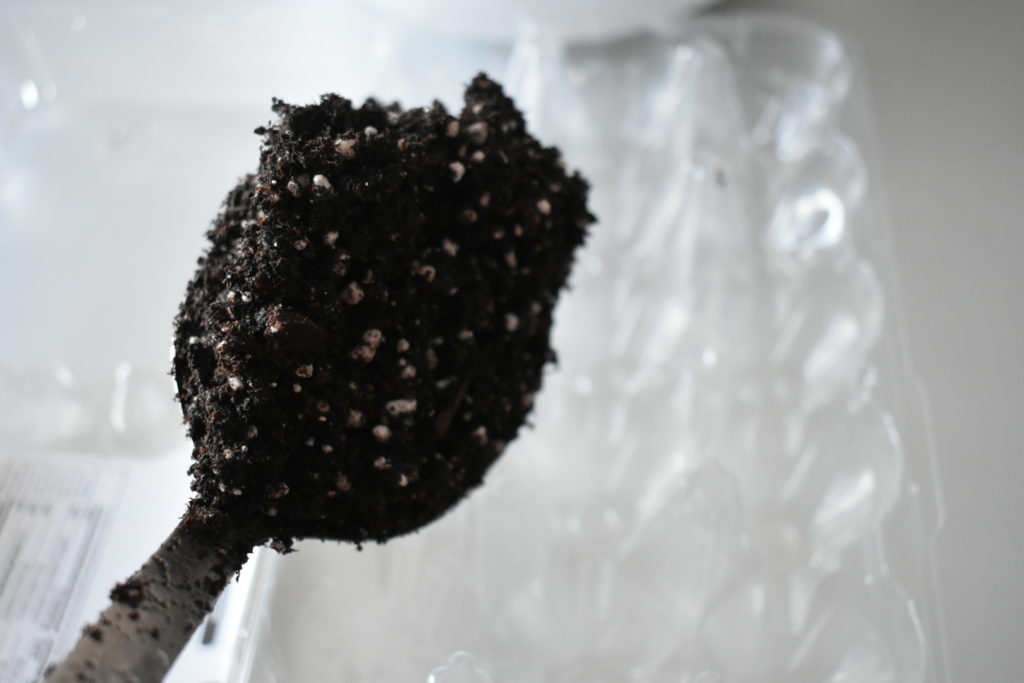
- Fill with damp seed-starting soil. You will probably need to wet it so put enough for your container of choice into the bowl, if you can squeeze it into a clump with your hands and it holds that shape, it is damp enough. Add water from a jug and mix with your spoon until it reaches that stage. The soil should not be so wet you can squeeze water out of it.
- Label the container with variety and date
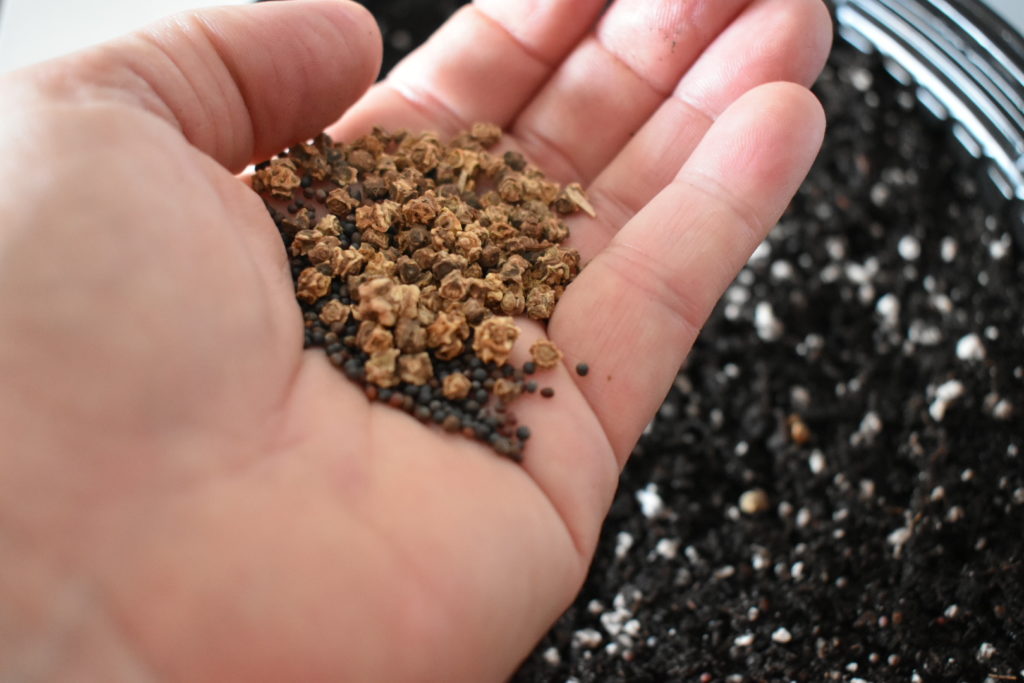
- Add seeds of choice – a few for each egg socket or sprinkle in rows in a larger container.
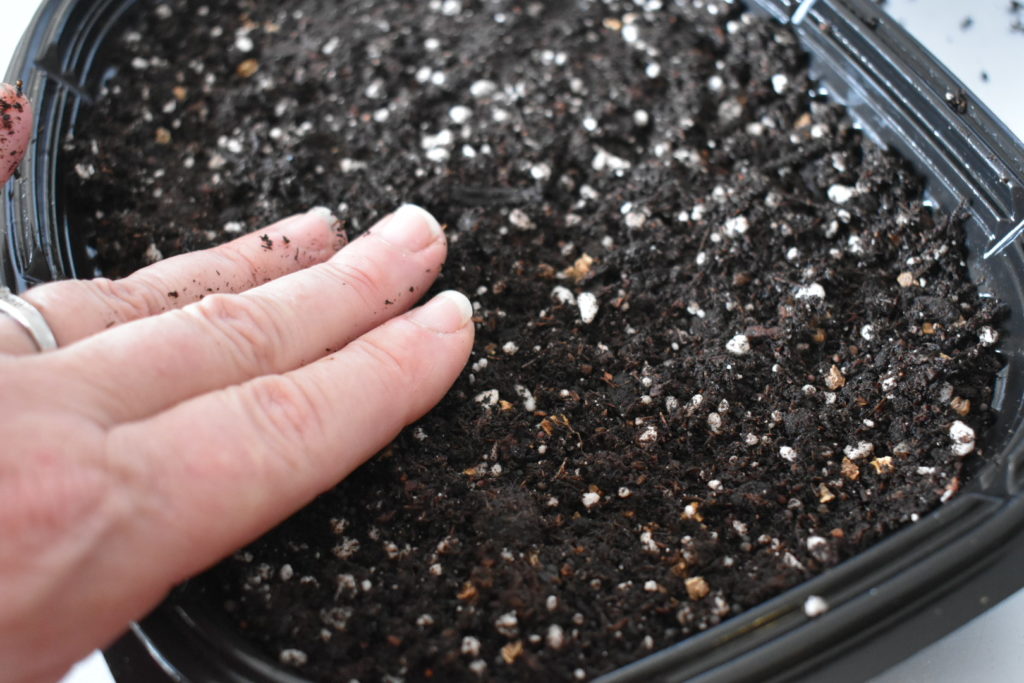
- Gently press to ensure contact with the soil and spray with a water mister.
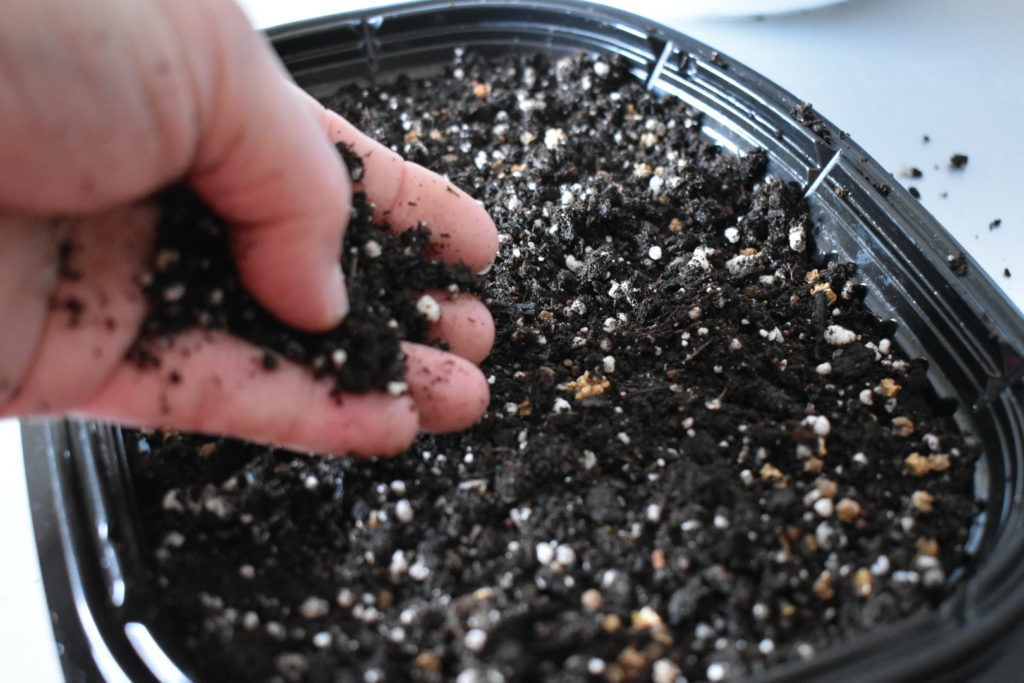
- Sprinkle on more soil to cover the seeds (to the depth specified on the packet)
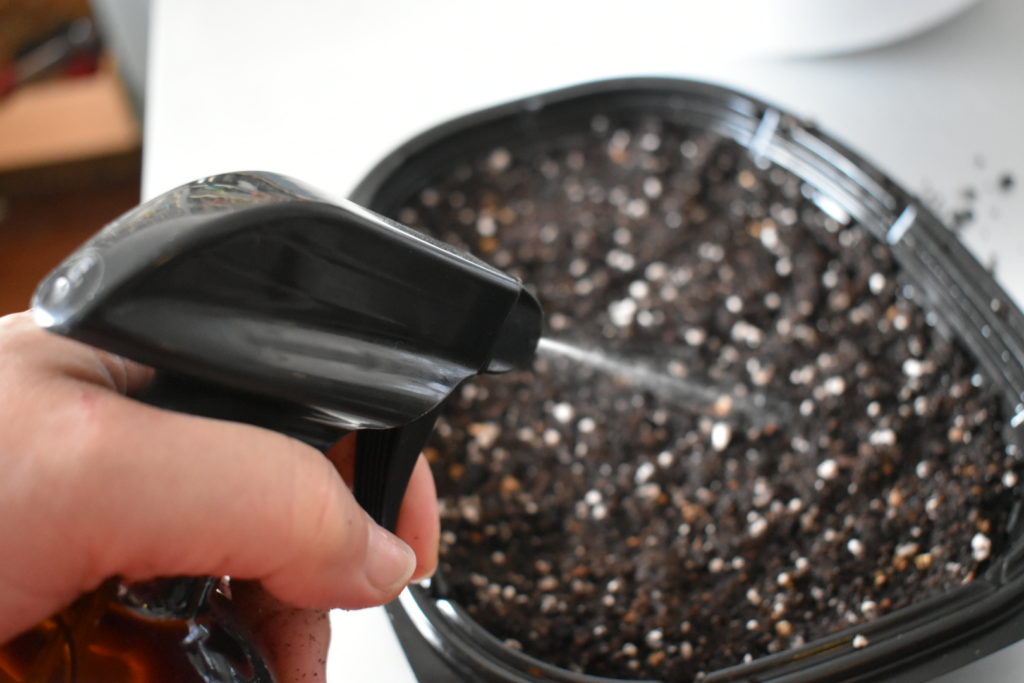
- Spray again
- Cover with a plastic cover and put in a warm location.
- Check them every day, twice a day, and spray as needed Seeds must remain damp.
- Once most seeds have sprouted, transfer to a sunny window. Water from below once most seeds have sprouted, basically try not to disturb your fragile sprouts. Keep the soil damp until the first true leaves appear. The first true leaves are the second set of leaves to appear and usually look different from the first leaves, closer to what the mature plant will look like.
- Once the first true leaves appear, you can separate and transplant to bigger containers, see Extra Notes for more, or thin to distance specified on the seed packet. If your plant is going to be indoors for more than a few weeks, you will definitely need to transplant it to a bigger container than those shown.
Process in Photos
Extra Notes
- Cardboard Egg cartons for seed starting: Many people use cardboard egg cartons for seed starting. I have tried multiple times to use these cartons and I end up with mold issues or the cardboard disintegrates. They may work fine for starting lettuce or spinach a week or two early. If I grew anything longer than that, for me, the cartons would cause issues.
- Transplanting: You need to move plants from their starting container to larger ones as they grow, especially when you use shallow containers like egg cartons and take out containers. To separate out small seedlings (first leaves) you can use a teaspoon, knife, toothpick or a Widger. Ensure you read your seed packet to ensure they don’t mind having their roots tickled. To transplant, gently separate one seedling from the rest and move to a larger container with a damp seed starting mix. Keep the root straight and don’t touch handle too much. Carefully bury your baby in its new home, cover the root growth and water well. Treat gently for a week or so until it settles in. A new post will be coming soon, specifically on transplanting.
- Remove the greenhouse lid. I use the plastic lids on egg cartons or rotisserie containers to retain warmth and moisture over the seeds. As soon as you see sprouts, you should allow air to get in (I prop up the lids). When most seeds have sprouted that lid should be removed permanently to ensure the seedlings stay healthy and the soil has a chance to dry out.
- Move your seedlings: To keep seedlings’ stems string they need to be moved, as though by a breeze. You could use a fan but I find if I run a clean hand over the top of the plants, gently, several times a day, it works perfectly.
- Bending Seedlings: When you have seedlings on a sunny windowsill they can often be seen “bending” towards the light. Turn them around on alternate days to bend one way, one day, and the opposite the next. This can also be a sign they need more light – mine get artificial light from grow lights but they still bend towards the window.
- Light and Your seedlings. A big, sunny window will do for a few weeks and may be fine for leafy greens and some herbs but it won’t be so great for peppers or tomatoes. When we say a sunny windowsill, the vast majority of seedlings need 10-plus hours of direct light to thrive. If they don’t get it, especially over an extended period, they can grow spindly and fall over.
- Seedlings will not recover from this and if you keep it up, you end up with a $60 tomato and a lot of frustration. A grow light set up of some description is the answer. This light needs to be on for 14-16 hours a day, a timer can help with this. The light should be 3-4 inches above the tallest seedling and should be raised as your seedlings grow, so it always stays 304 inches above the tallest plant.
- Our first light setup cost us about $40 – a two-foot shop light with a cool fluorescent and a warm one. We hung it from chains in the basement. We now have a growing setup we got at a garage sale for $100. It has two shelves, and two 4″ 4 bulb fluorescent lights (2 warm, 2 cool). It holds 8, 36 cell starter trays – which is a lot, but not enough for our garden, so we also direct seed, use a small greenhouse, and stagger harvests and transplanting.
- We just purchased three 4′ two-bulb shop lights with full-spectrum grow lights and two heat mats for $50 on FaceBook Marketplace. These deals can be found and I will post some information and photos on that setup soon.
- You can also buy grow lights at suppliers like Burpees, Johnny’s Select Seeds, and Amazon, amongst others.
There are many things that could still go wrong, a good reference book can help. I will add a list of some of my favorites as soon as possible.
I really hope this has been of some help if you are just getting started. If you have any questions, please don’t hesitate to leave a comment or send me a message through our Facebook Page.

Leave a Reply